 By
By Chapter 2:
Connect your Python script to Anvil
We’re going to build a simple web UI to display the contents of our database in a table.
Step 2: Add a Data Grid to your app
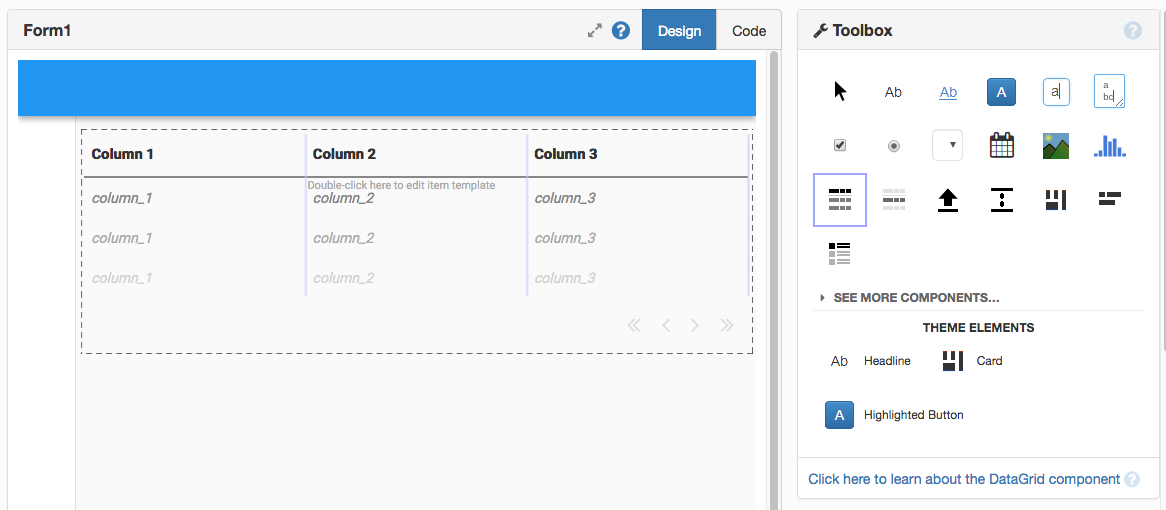
We’re going to add the interactive table that will contain the data from your external database.
Drag-and-drop a Data Grid ![]() into your app:
into your app:
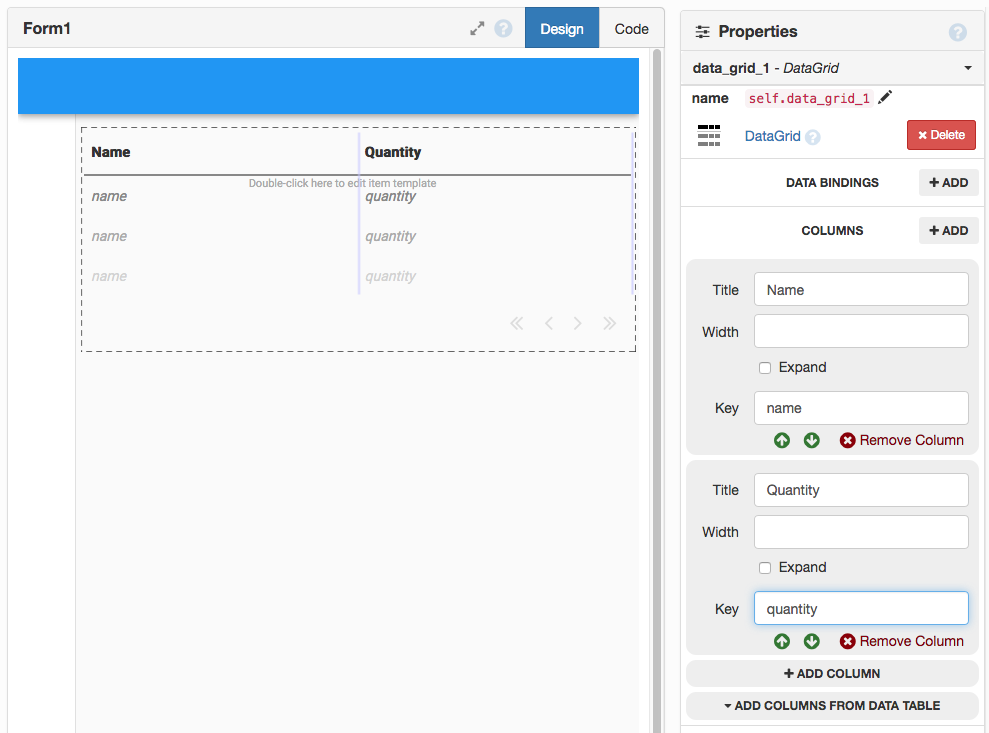
Click on the Data Grid and go to ‘columns’ in the Properties Pane on the right.
Make the Data Grid have two columns:
- Title:
Name, Key:name - Title:
Quantity, Key:quantity
Now your app is ready to display your data.
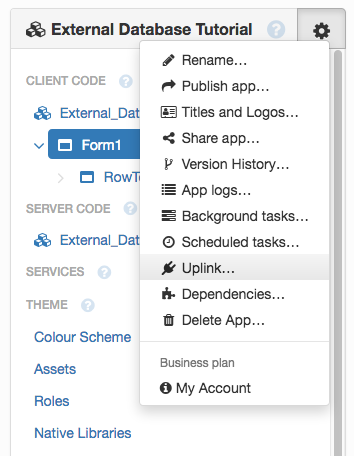
Step 3: Enable the Uplink
Select the Anvil Uplink in the Gear Menu ![]() :
:
You’ll see this dialog:
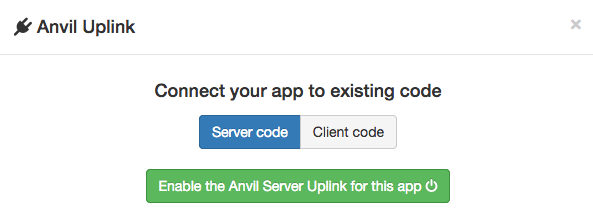
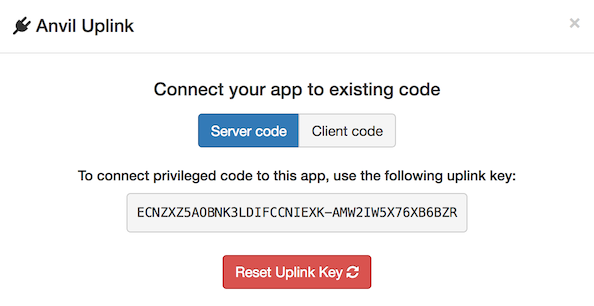
Click the green ‘Enable Uplink’ button. It will display an authentication key that you will use to connect your code to your app.
Step 4: Install the Uplink
Install the Anvil Uplink library in the environment where your script runs:
pip install anvil-uplinkStep 5: Connect your script
At the top of your script, import the Anvil Uplink library:
# Import the Anvil Uplink library
import anvil.server
Below your import statements, run this line to connect to your script to your Anvil app.
Replace <your-uplink-key> with the key shown in the Uplink dialog in step 3.
# Connect to your Anvil app
anvil.server.connect('<your uplink key>')
Add @anvil.server.callable to the line above your get_items function. This makes it possible
to call this function from your Anvil app.
@anvil.server.callable
def get_items():
  # ... etc ...
Finally, add this line to the end - it keeps the script alive waiting for connections from your app:
# Wait for connections
anvil.server.wait_forever()
(Also, remove the print(get_items()) from the end of the script)
Your full script should now look like this:
import anvil.server
import psycopg2
anvil.server.connect('<your uplink key>')
conn = psycopg2.connect(
host="18.133.244.120",
user="your_database_id",
password="your_database_password")
conn.set_session(autocommit=True)
cur = conn.cursor()
@anvil.server.callable
def get_items():
cur.execute('SELECT * FROM inventory;')
items = cur.fetchall()
return [
{'id': item[0], 'name': item[1], 'quantity': item[2]}
for item in items
]
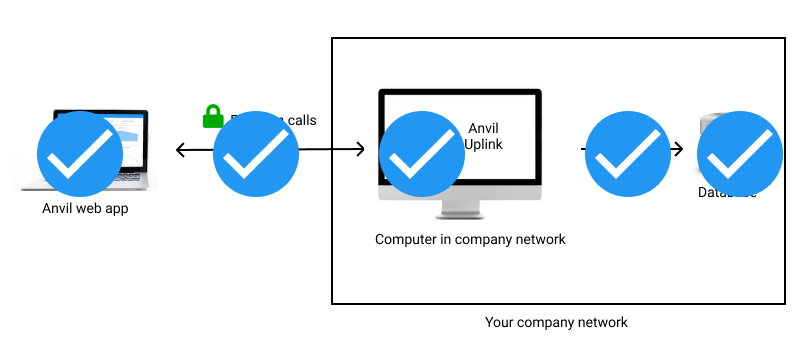
anvil.server.wait_forever()Now we have the Uplink part of the system done:
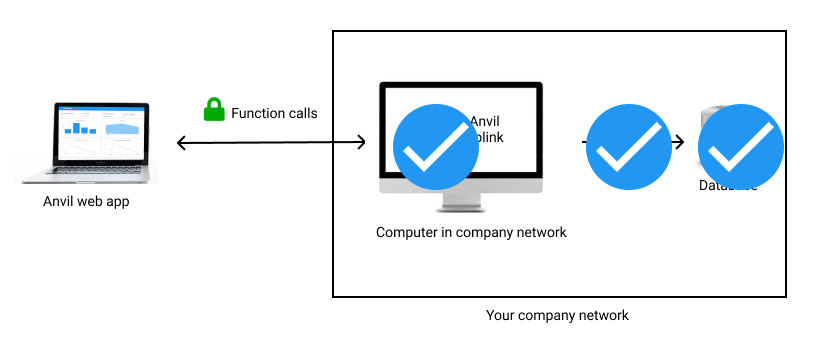
We’ve set up the database and proxied to it using the Uplink.
Step 6: Display the items
Now we’ll call the get_items function from Anvil and display the result in the Data Grid.
First, run your inventory.py script. It will initialise and wait for connections from your app:
$ python3 inventory.py
Connecting to wss://anvil.works/uplink
Anvil websocket open
Authenticated OK
In your Anvil app, go to the Code View of Form1.
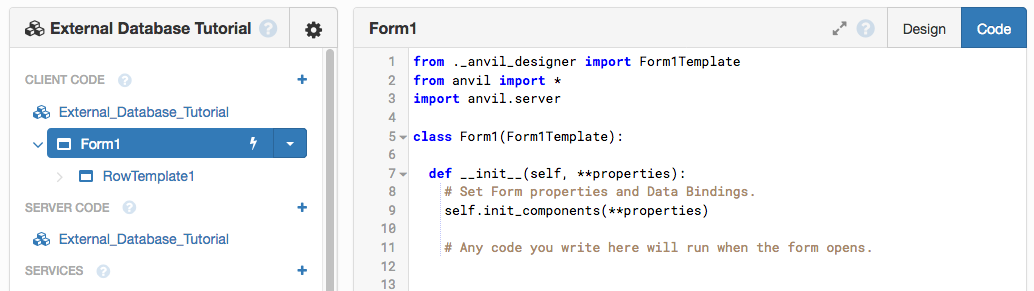
At the end of the __init__ method, add this line:
self.repeating_panel_1.items = anvil.server.call('get_items')Now run your app. The data from your external Postgres database will be displayed in the table!
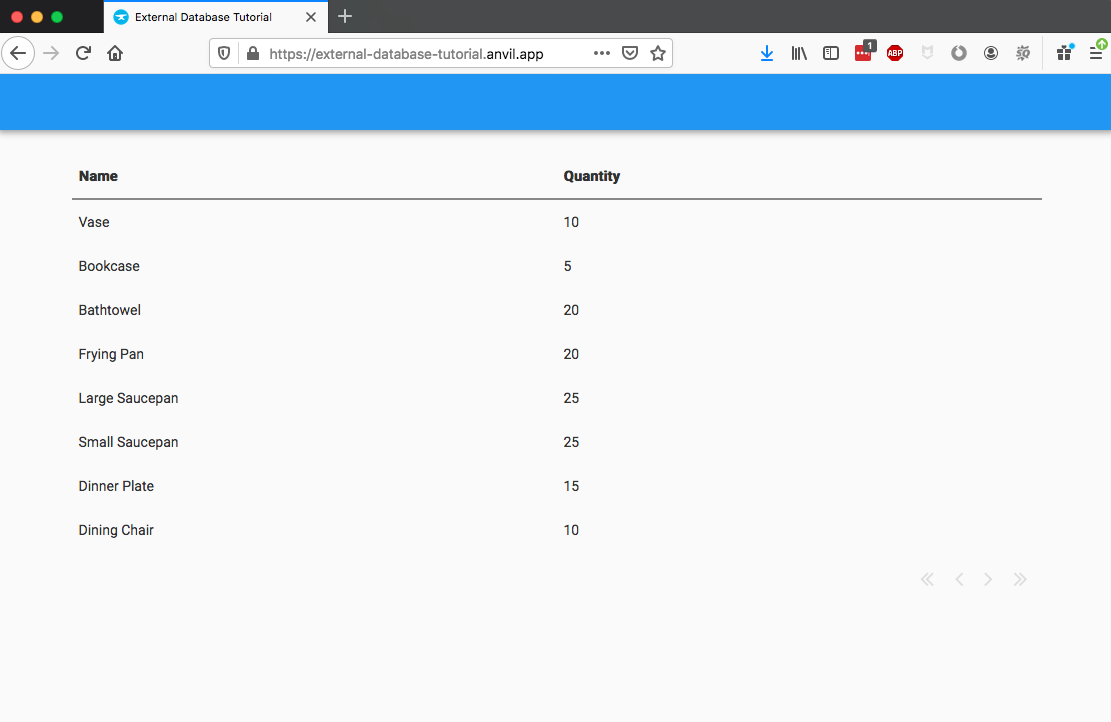
That’s every element of the system in place!
We’ve implemented the whole system: the database, Uplink script, and web app.
Mission complete! That’s the essential task of this tutorial finished. We’ve connected to an external database and displayed its data in a web app.
In the next chapter, we’ll make it interactive: we’ll add, update and remove rows from the table from using the web UI.