 By
By Chapter 1:
Create the app and Data Table
We first need to create our Anvil app and set up a Data Table to store our movie data.
Step 1: Create an Anvil app
Log in to Anvil and click “Create a new app”.
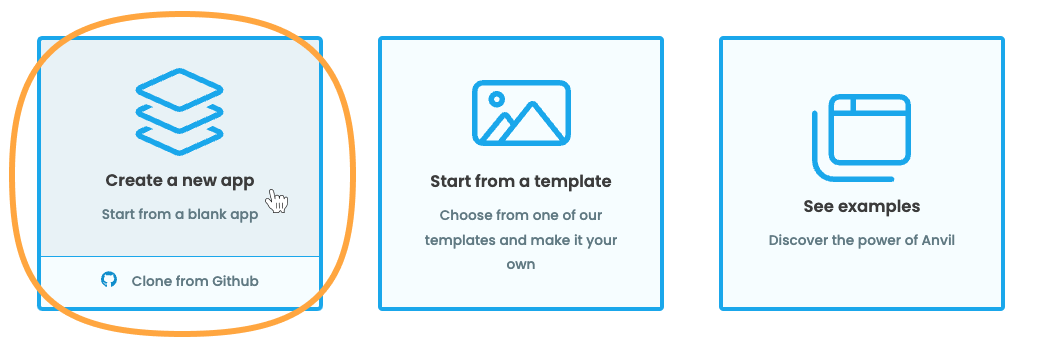
Choose the Material Design 3 theme. We now have an app with one Form named Form1. Forms should be named based on their purpose. Since Form1 will display our list of movies, let’s call it MovieList. Double click on Form1 in the App Browser to rename it to MovieList.
Step 2: Create the Data Table
Create a Data Table by clicking the icon in the Sidebar Menu. Then click “+ Add New Table” to add a Data Table and name it movies.
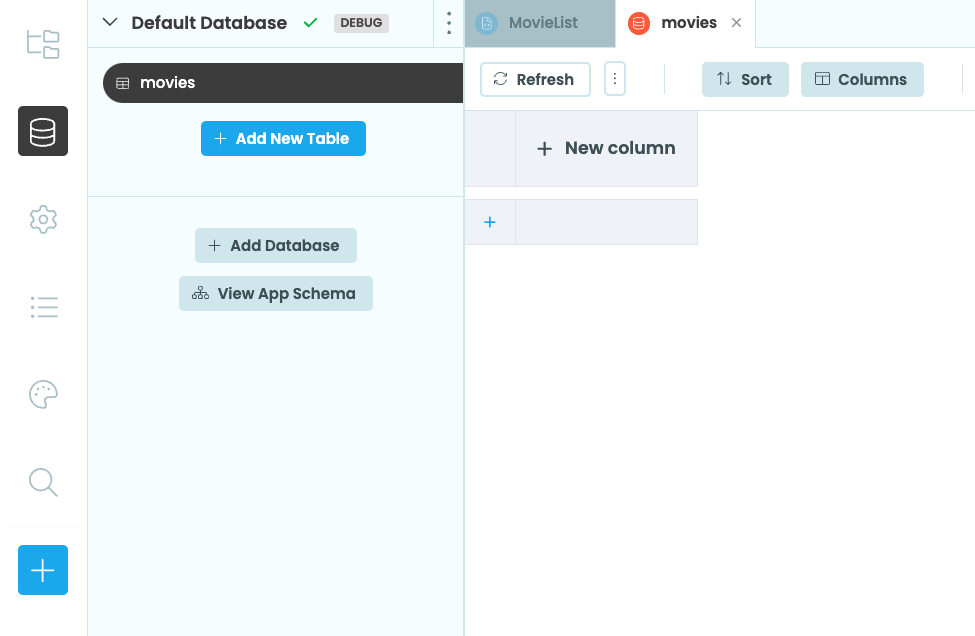
We can now add the columns we need in our Data Table. First, we need a column to store the name of our movies. Click “+ New column”, name the column movie_name and choose “Text” as the type. Repeat the process for the rest of the columns:
year: anumbercolumndirector: atextcolumnsummary: atextcolumn
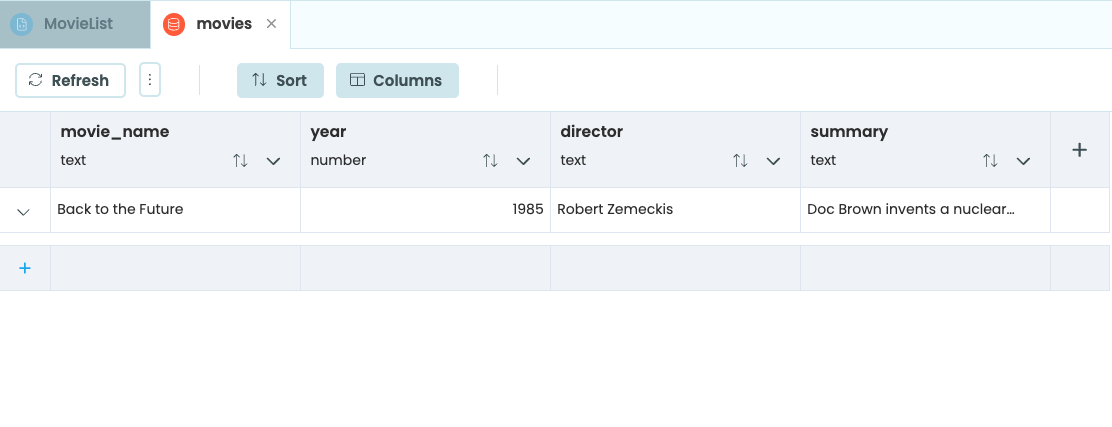
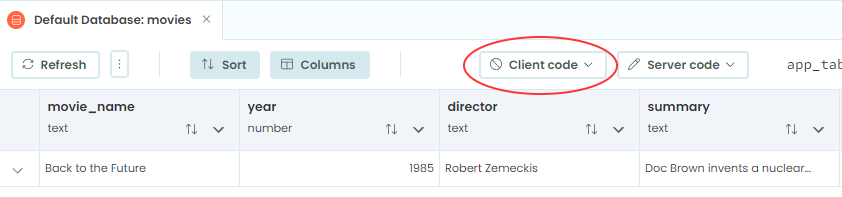
For now, let’s use the Data Table editor to add information for a single movie to the Data Table. Your Data Table should look something like this:
Step 3: Configure the Data Table permissions
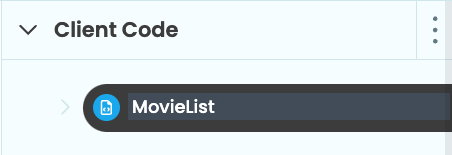
We now need to configure what type of code has access to the Data Table we just created. By default, client-side code cannot access our Data Tables. Click on ‘ Client code’ above the Data Table and choose ‘ Client code can search table’.
This gives client-side code read access to our Data Table, but prevents it from writing directly to the table. This way, the client-side code cannot bypass the data validation checks we’ll write later.
We’ve now created our app and set up the Data Table to store movie information.
In Chapter 2, we’ll add a Data Grid to our app and populate it with data from the Data Table